How to apply SLA manually to tickets?
SLA stands for Service Level Agreement. A Service Level Agreement (SLA) is a commitment between a service provider and a client. Particular aspects of the service - quality, availability, responsibilities - are agreed between the service provider and the service user. Under SLA we have given the provision of adding Response time and Resolution time. Response time can be described as the minimum time in which the client should get a response OR acknowledgement whereas Resolution time can be described as the minimum time in which the query submitted should be resolved.
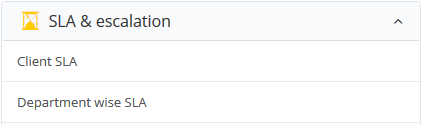
You can assess all the SLAs in your system using admin settings. In admin settings, under automation you will find the option to configure SLA in your system. To configure an SLA you will also require to add a working schedule of the staff members. This work schedule helps calculate response and resolution time of a ticket based on the working hours of the staff member it has been assigned to. Using admin settings under automation you will find all the displayed SLAs that you can access and modify as per your requirement. You can also create a new custom SLA from the option provided on the top right corner of the screen.
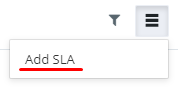
Using workflow rules and automation you can apply SLAs to tickets automatically. Manual application of SLA is also available. Using mass operations, you can change SLA plans for multiple tickets at a time. The changed SLA can be a custom SLA or a predefined one. SLA plans can also be changed ticketwise. When you open a ticket, on the right top corner, using the more list option you can apply the SLA plan of your choice to the ticket.
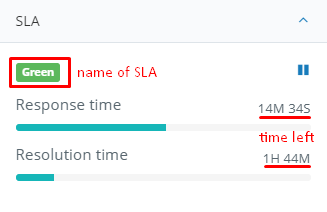
When an external ticket is generated, by default an SLA is applied on it. The details of it can be viewed under the left hand panel of the ticket. Below the client information, you can see the SLA details. The name of the SLA and the response and resolution time calculated as per the schedule of the assigned staff member can be seen.
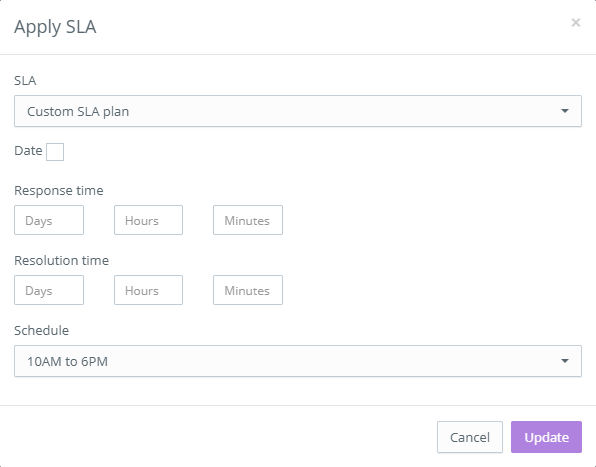
Using the apply SLA option you can also change the response and resolution time manually to create a custom SLA for a particular ticket. This time period can be manually added as hours to days altogether. As long as the staff member responds back to the client within the response time and resolves the client query within the resolution time, the SLA is said to be maintained. If the SLA is not maintained you would see the status of the SLA turning red and overdue.
If you want to make sure only the managers and supervisors are allowed to meddle with a functional SLA applied on a ticket, you can create a new role for the management staff and through Admin settings>user>role>update role you can edit this role to enable apply SLA and pause/resume SLA on a ticket. This can ensure that the staff members who are supposed to work on the ticket and respond back to client queries cannot alter the SLA applied to the tickets.
We also have reports available to track the SLA