

Release Management
What is Release Management?
Release management is a process of managing, planning, scheduling, building, deploying and finally the monitoring of a Release in test and live environment. Release management is used to enhance the existing IT related services in a complete and efficient manner.
At Vision helpdesk, we understand the importance of a Release request and have ensured that it adheres with the ITIL standards.
Let’s understand Release management with an example -
You have a new version release of your software product which has a new look and feel and database changes. Also, it has a completely different configuration for the server.
Now before proceeding with the release you need to actually plan efficiently as a release is the most critical phase in SDLC (Software Development Life Cycle). If a release doesn’t go as per the plan it may lead to severe consequences.
Now let understand what stages need to be followed for successful release -
How to add a Release request?
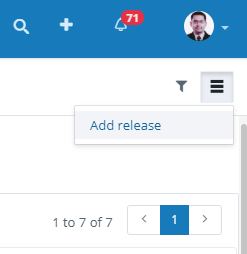
Click on the launcher icon>>Release >>Now on top right corner there is a button using which you can add a new release.

The below fields need to be filled while adding a release request.

Domain*: Here you can select the domain (in case of multi-company help desk)
From*: Here you can define the email address of the person who creates the release
Title*: Here you can add the Title for the release request.
Apply macro: A Macro is basically a predefined and customisable templates that can be added to the release description.
Description*: A detailed description of the release request can be added here. This can include Release and Deployment Plans, Installation Instructions and Manuals, Training documentation. The above documents can also be attached to the Release Description.
Planned start date: This would be the planned date for starting the release deployment.
Planned end date: This would be the planned date by when the release deployment would be completed.
Status: The status of the release request can be defined here.
Priority: The priority of the release request can be defined here.
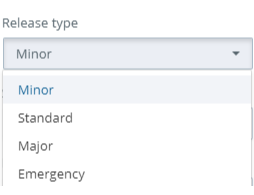
Release type: The type of the release request can be defined here.
Impact: The impact of the release request can be defined here.
Risk: The risk involved with the release request can be defined here.
Urgency: The Urgency of the release request can be defined here.
SLA: The SLA for the release request can be defined here.
Location: The location details of the release request can be defined here.
Category: The Category of the release request can be defined here. Example: Hardware, Software, Document, etc.
Subcategory: The Sub-category of the release request can be defined here.
Item: The Item field of the release request can be defined here.
Request user*: The details of the user who had requested for the release is defined here.
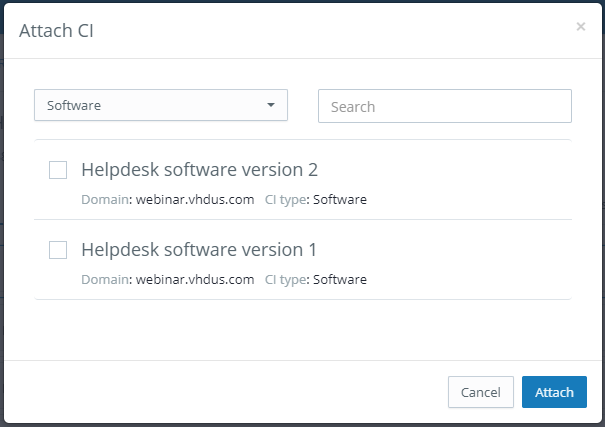
Attach CI: Here you can attach a CI to the release request. The release would be attached to the CI and you can check all the details of the CI / Asset under CMDB. There would be a link in Release management that would redirect you to the concerned CI and vice versa.
Assigned to: The release request can be assigned to one or multiple staff members.
Note: the fields that are marked with a red star (*) are mandatory fields.
For example: Domain*, From*, Title*, Description*, Request user*
Release type: like Minor, Standard, Major, Emergency can be select here depending on the type of the release that needs to be added.
In case of Emergency release type, you can skip the intermediate stages and move directly to release deployment stage.
Options within a Release Request.

The features and options that are available within a release request are explained below.
Release Ticket hash: Every Release request shall have a unique hash applied over it automatically. By default the hash will begin with REL.
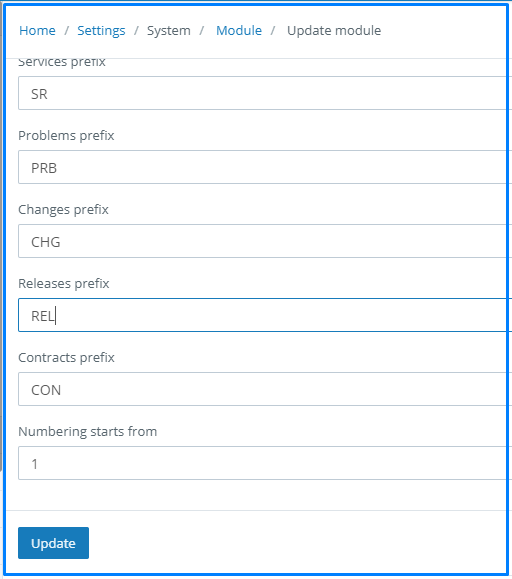
If you wish to change the Releases prefix this can be done using the following steps
Go to the Admin Settings >> System >> Module
In module settings select the ITIL module
In the ITIL module under ITIL hash generation select “Sequential”

In “releases prefix” you can add your prefix of your choice and define a number in the “numbering starts from” and click on update. The Release that you will add will now have the prefix of your choice.
Subject: This would be the Title / Subject of the Release request.
Time Stamp: The date and time would be added automatically.
Options on the left hand side of the page within a release request.
Release Details:
Staff name: The name of the staff who created this release request can be seen here.
Staff email ID: The email ID of the staff who created this release request can be seen here.
Team: The team to which the above staff belongs can be seen here.
Release details
Domain - This would be the domain under which the release request has been created.
Status - The status of the Release request can be seen and modified here.
Priority - The priority of the Release request can be seen and modified here.
Impact - The impact of the Release request can be seen and modified here.
Risk - The risk involved with the Release request can be seen and modified here.
Urgency - The urgency of the Release request can be seen and modified here.
SLA - The SLA of the Release request can be seen here.
Start date - The start date of the Release request can be seen and modified here.
End date - The end date of the Release request can be seen and modified here.
Due by - This shows the date or time by when the release is due.
Location - The location of the Release request can be seen and modified here.
Release type - The type of Release request can be seen and modified here.
Category: The category of the Release request can be seen and modified here. Also if you want to have dependent fields then you can use category, subcategory and item.
Subcategory: The subcategory of the Release request can be seen and modified here.
Item: The item of the Release request can be seen and modified here.
Assigned to: You can have the release assigned to your team or dedicated staff members of yours.
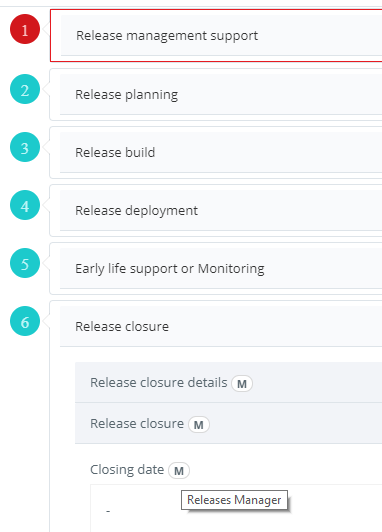
Timeline / Stages Involved in a Release Request.
Release management involves 6 stages and also there are different roles associated with each stage.
Below are different role involved in various stages under release management -
Creator (C)
Supervisor (S)
Planner and scheduler manager (PS)
Build and deployment manager (BD)
Tester (T)
Release manager (RM)
The stages in the Timeline are needed to be completed in a sequential manner. You would not be able to proceed to the next stage until the previous stage has been completed. The assigned staff would be responsible to carry out the activities that fall within his part in the release lifecycle. That may include acceptance criteria, checklists and performing handover activities so the release request can be moved to the next stage.
This the stage where you can add the description for release.
Release management is not something which should be carried out single-handedly. There must be a team involved in the entire release management process.
There are different staff having different roles in release management. You need to select staff who are going to be responsible for certain roles in the entire release management stages.
* Chain of approvals (M) (AS)
Once you have filled in the above options, you need to select “Mark as complete” and then click on “Update”. That will move you to the next stage in the Timeline.
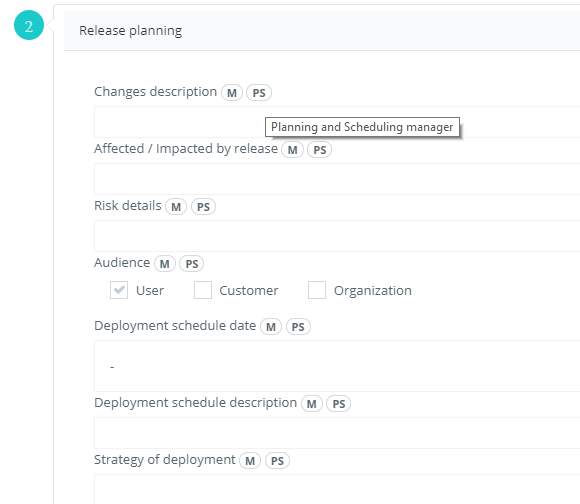
This is the stage where you need to define change description, identify the impact of release, risk details and strategy for deployment.
Once you have filled in the above options, you need to select “Mark as complete” and then click on “Update”. That will move you to the next stage in the Timeline.
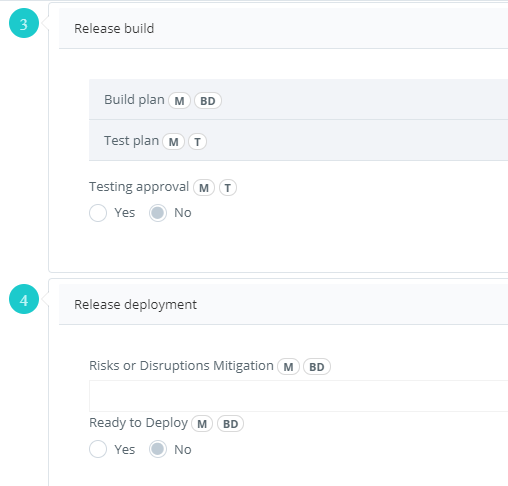
This is stage where you can define the build plan or test plan and also you can request for testing approvals.
Once you have filled in the above options, you need to select “Mark as complete” and then click on “Update”. That will move you to the next stage in the Timeline.
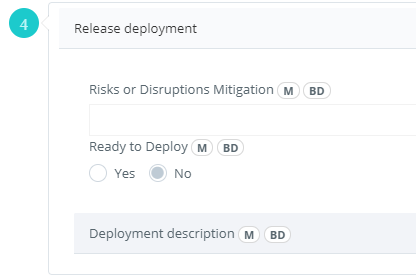
This is the stage where you can add the risk mitigation and how you are going to deploy the release.
The details of the release deployment can be seen here
This model contain information Financial assets , Processes and materials models.
Once you have filled in the above options, you need to select “Mark as complete” and then click on “Update”. That will move you to the next stage in the Timeline.
Release version check - release module adds affected version and the new version in which the fix will be added for this release.
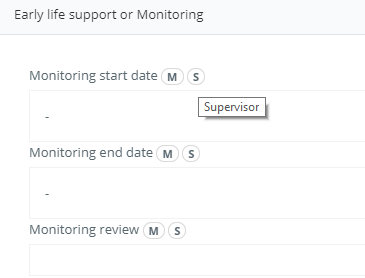
Post release you can have monitoring phase where you add a monitoring review. You shall be verifying the release and check for any issues post the release deployment. You can also validate if the service has been delivered in a coordinated manner.
Once you have filled in the above options, you need to select “Mark as complete” and then click on “Update”. That will move you to the next stage in the Timeline.

Under release closure stage you can gather feedback for release, ensure if proper training and knowledge transfer were done, ensure if quality requirements were met and you can add post release review and date for closure of release.
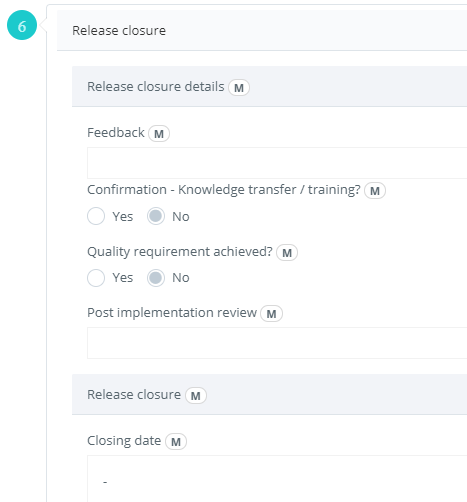
The closing date of the release is added
Release Details
Description: This would include a detailed description of the Release.
Build Plan: The build plan for the release can be seen here.
Test Plan: The test plan for the release can be seen here.
Rollout Plan: The rollout plan for the release can be seen here.
Backout Plan: The backout plan for the release can be seen here.
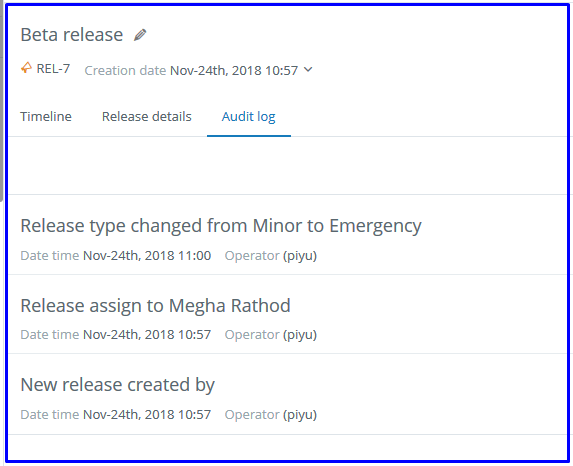
Audit Log
Under Audit log, you can find the audit trails of the activities done on Release right from the date of creation.
The audit log displays what activity was done along with Date, Time and Operator.
Other Options (on the top right hand corner in a release request):
Add Note: You can add notes for the release which can be referred by the staff members and these notes are only for staff use. Clients will not be able to see the notes added for release.
Close or reply all linked incidents: If you have linked any tickets then you can reply to all linked tickets and even mark the ticket as closed.
Link CI: You can link configuration item related to this release. The release would be attached to the CI and you can check all the details of the CI / Asset under CMDB. There would be a link in Release management that would redirect you to the concerned CI and vice versa.
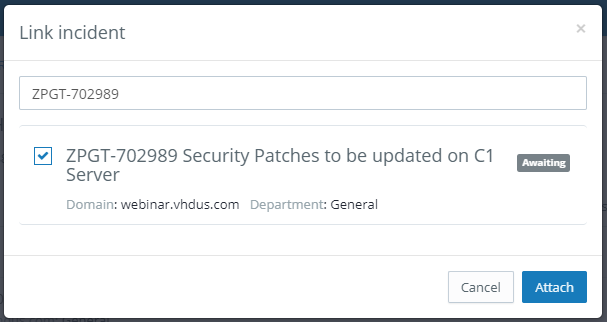
Link Incident: You can link all the incident or request for change related to the release. The release would be attached to the incident and you can check all the details of the change under the Incident management page. There would be a link in Release management that would redirect you to the concerned incident and vice versa.
Link Change: You can link all the Change request related to release. The release would be attached to the change request and you can check all the details of the change under Change management. There would be a link in Release management that would redirect you to the concerned Change request and vice versa.
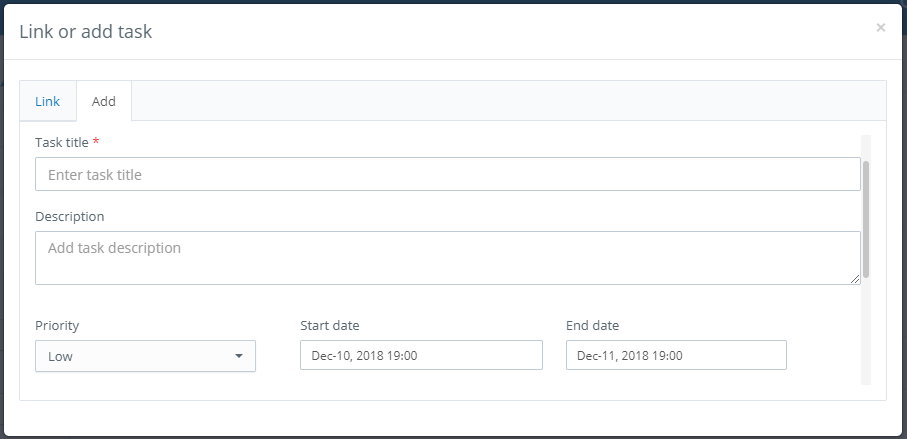
Link or add task: You can link or add a new task related to release.
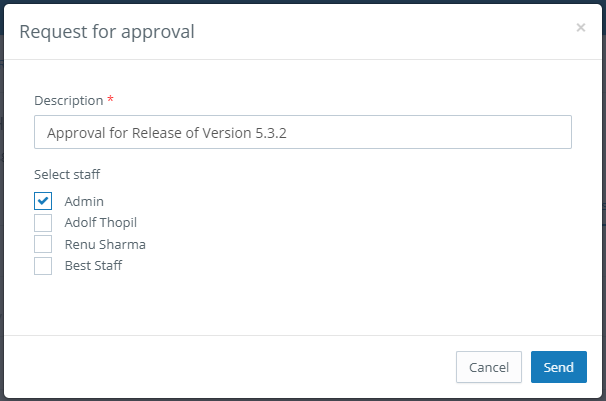
Request for approval: Before proceeding with the release, you can

Add Note: You can add details related to the release in the note

Close or reply all linked incidents: using this you can close of reply to all incidents that are linked to the release

Link CI: You can link the release to a CI
Link Incident: in the link incident you can link the release to an incident
Link Change: you can link the release to a change using the link change

Link or add task: you can link/add a task to the release to a change using the link or add task

Request for approval: The staff from whom approval for the release is required can be selected using request for approval
Release Request hash: Admin Settings >>> Modules >>> ITIL
Options in Roles for Release Management.

Creator: is the person who creates or adds the release
Supervisor: is the person who monitors the early life support.
Planning and scheduling manager: is responsible for planning and scheduling of the release.
Build and deployment manager: is responsible for Release build and deployment
Tester: make sure that the release Test plan is properly implemented.

Release manager: is responsible for the smooth transition of the release from creation till the closure.
Attach CI: You can grant permission or access to a staff or team to attach a CI with the release request.
Link incident / Service Request: You can grant permission or access to a staff or team to link an incident with the release request.
Link task: You can grant permission or access to a staff or team to link a task with the release request.
Link change: You can grant permission or access to a staff or team to link a change with the release request.
Release closure: You can grant permission or access to a staff or team to close the release
Delete release: You can grant permission or access to a staff or team to delete a release request.
Change owner: You can grant permission or access to a staff or team to change owner of the release request.
Change release type: You can grant permission or access to a staff or team to change release type of the release request.
Change status: You can grant permission or access to a staff or team to change status of the release request.
Change priority: You can grant permission or access to a staff or team to change priority of the release request.
ITIL automation / ITIL Workflow. (Admin Settings >>> ITIL automation)
In the ITIL automation you can automate an action that you need to take using the events and criterias. For example if you want to automate the notification to a staff member about the release or you want to escalate or modify any release related property, it can be done using the ITIL automation / ITIL Workflow.
The below options are available under ITIL Automation for Release Management.
New release created
Update release status
Update release priority
Update release type
Release assign
Add build plan
Add test plan
Release overdue
Update release impact
Update release risk
Update release urgency
Release stage completion
Release role assignment
The below options are available under ITIL Automation for Asset Management
Add Asset
Update Asset
On asset expiry
Options in ITIL automation. (Admin Settings >>> ITIL automation)
In Admin Settings click on ITIL automation


In ITIL automation click on Add ITIL automation
Give a title and select Event
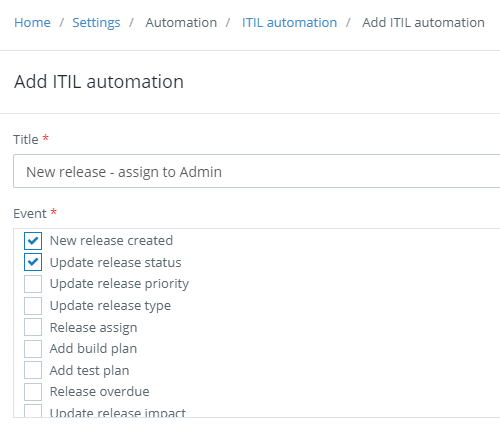
Under Criteria, in Match and conditions select required fields

Select the desired Action

e
Click on Add

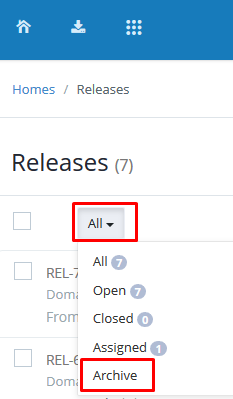
Achieving Data from Releases.
You can archive the release requests and keep only the required ones in the release management folder.
To Archive a release click on Admin Settings >>> System >>> Archive

The above image illustrates the steps to add archive a release request.
The below details need to be selected under the Archive option.

Archive data before: Here you can define the date before which you want to archive the release requests.
Note: The data after archive can be viewed in the Archive folder under release management, but cannot be modified. You need to restore it back to make modifications.
Reports for Release Management
Reports are crucial for any business as it helps the owner or manager measure and manage the resources in effective manner. Keeping that in mind we provide you with a range of reports that include pre-defined (ad hoc) as well as custom reports (flexible).
Release Reports
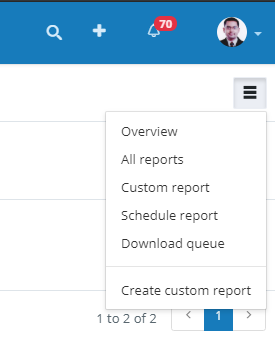
To get the Release reports go to Reports click on All reports.
Under ITIL Reports you will find reports related to Releases.
All releases: you will find reports of all releases here.
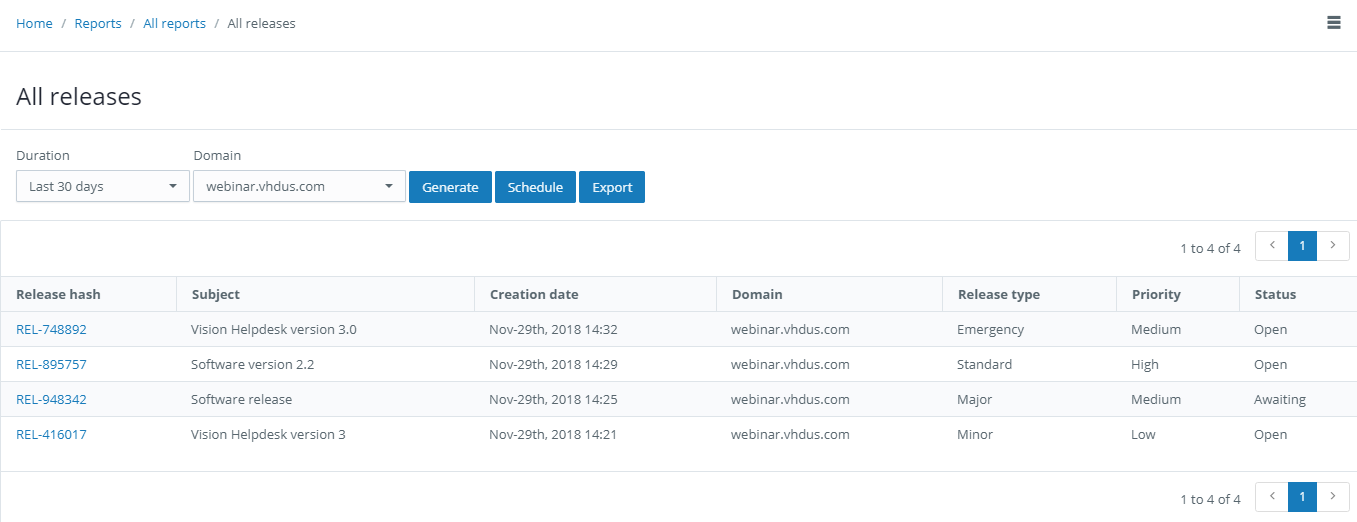
Select the Duration as required i.e. Last 30 days, Last 7 days, Last 24 hours or Custom (any 3 months duration)
Select the Domain.
And click on Generate.
If you wish you can also Schedule or Export the report.

Releases linked to changes: you will find reports of releases that are linked to changes

Release incident trend analysis: you will find reports of release incident trends

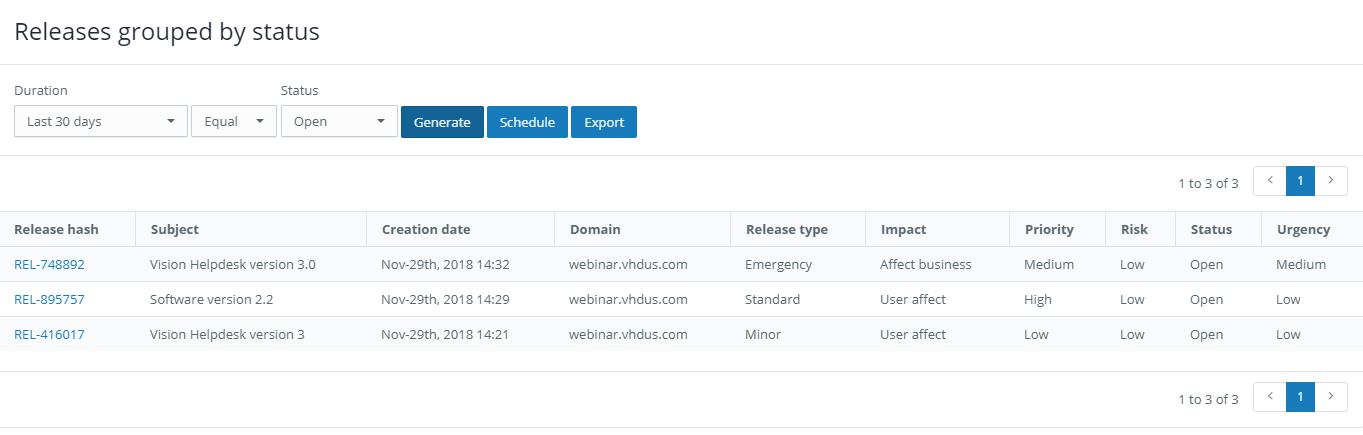
Releases grouped by status: you will find reports of release statuses.
Releases grouped by priority: you will find reports of release priorities.

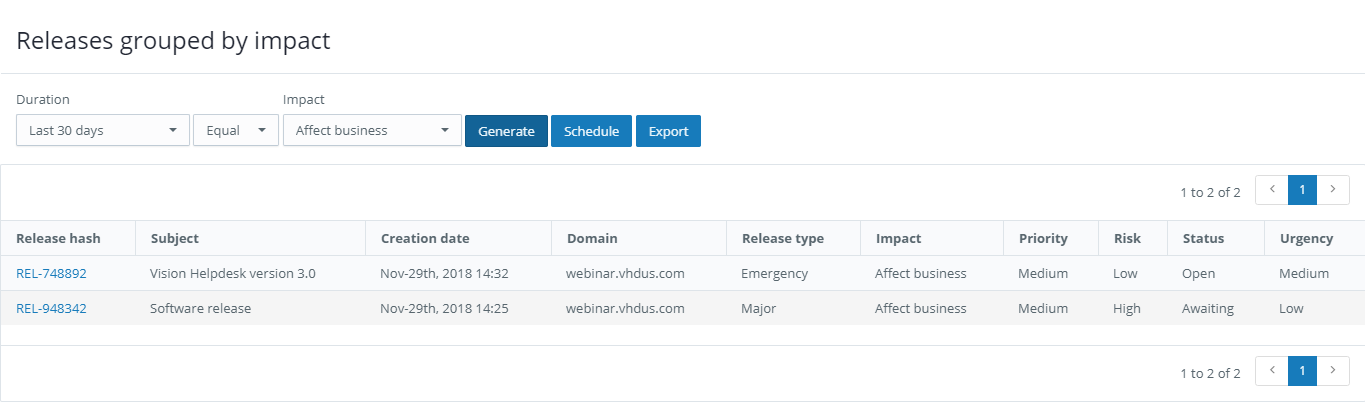
Releases grouped by impact: you will find reports of release impacts.
Custom report for release management.
If you require a specific or customized report that might not be available in the existing report list, you can create a custom report.
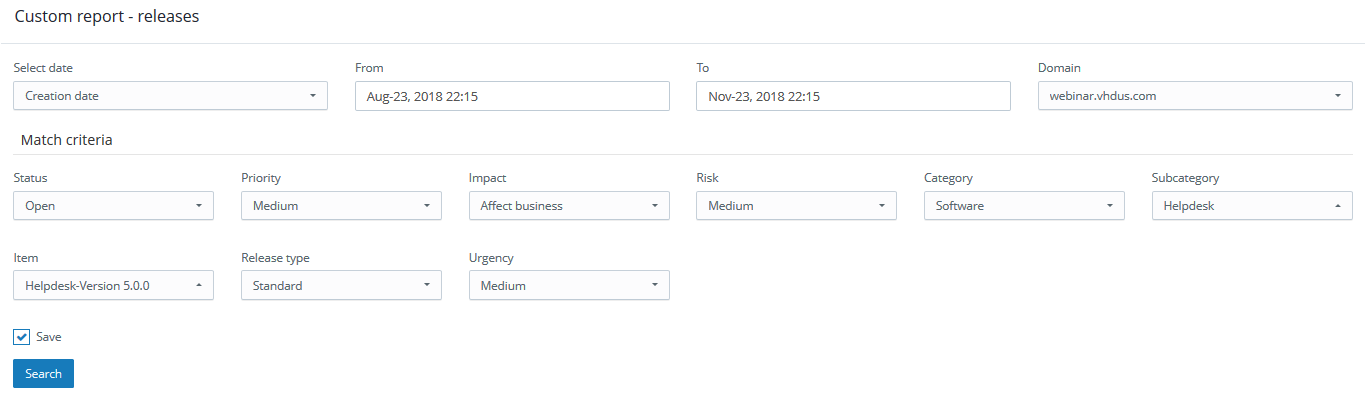
Below are the steps to create a custom report for release management..
Click on create custom report
Select Release

Then select the date range and domain

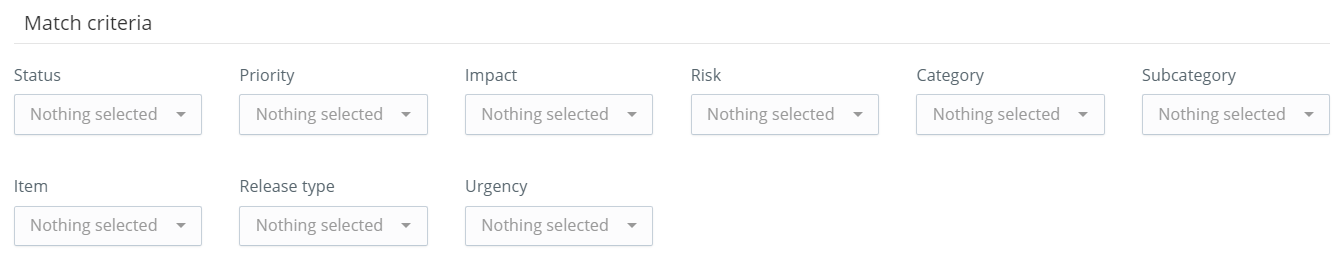
Under Match criteria there are fields like
Status, Priority, Impact, Risk, Category, Subcategory, Item, Release type, Urgency
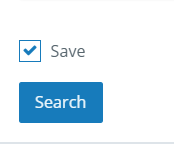
Select fields that are needed, if you wish to save this custom report as a filter then tick Save and click on Search. If No then just click Search
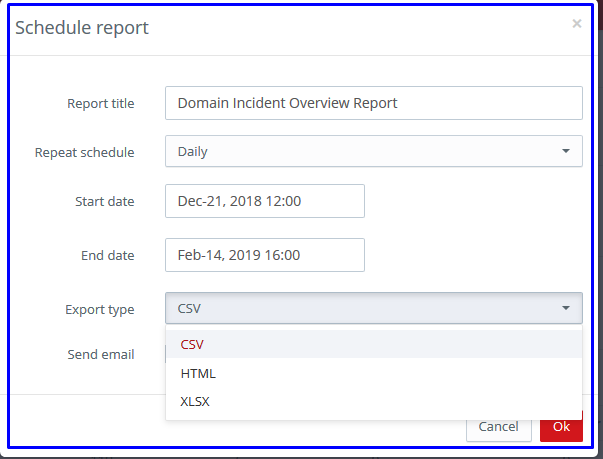
Scheduling a Report: You can schedule a report to be generated automatically at the defined interval. Example: Daily, Weekly, Monthly, Yearly, etc
You can export the report as CSV, HTML, XLSX.
Exporting a Report:
You can export a report if you want to keep a copy in your machine for future reference.
You can also define the format in which you want to export the report like CSV, HTML, XLSX.
You can also have the report sent to an email address.
