

Staff Menu
Towards the top where the name and the image of the logged in staff that is displayed it consists of the Staff menu drop down.
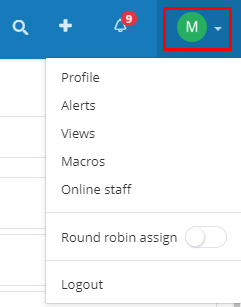
All the Settings of the particular staff related to Profile, Alerts, Views and Macros can be done from here
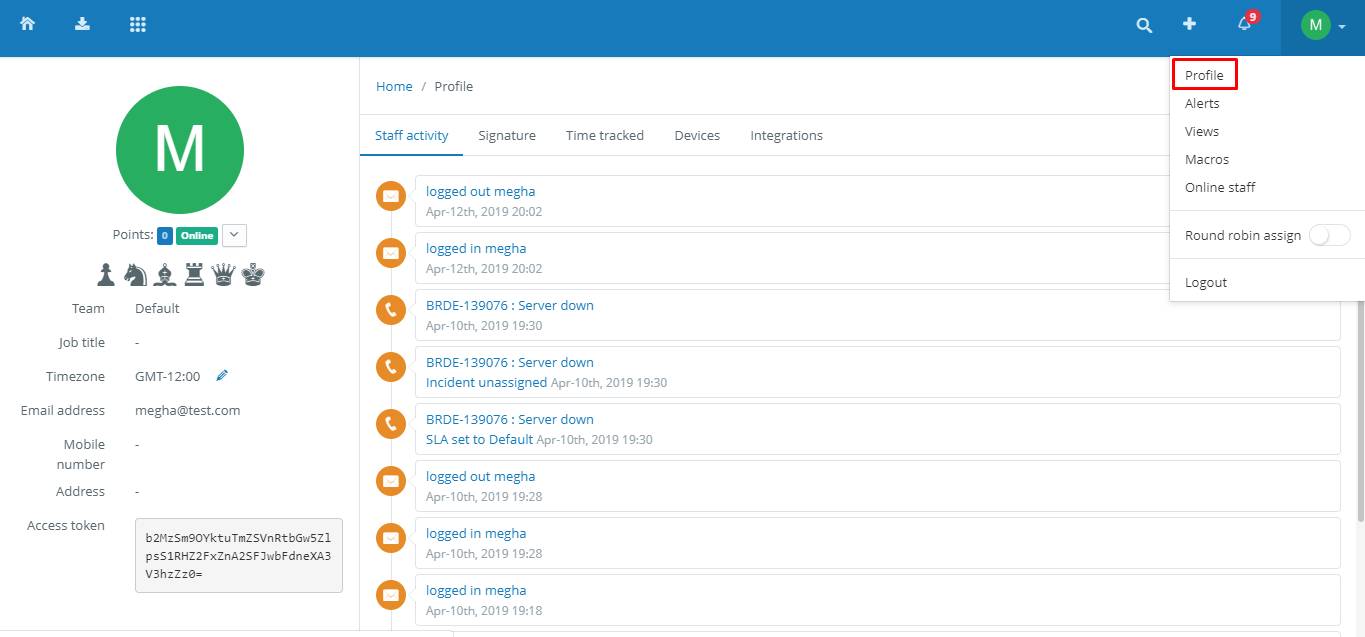
1. Profile:
All the settings related to the profile of the staff member can be done from here. Profile includes all the personal as well as the professional details of the Staff member.
Staff Menu >> Profile
At a quick glance the profile for the staff member includes the image along with the points of staff, status of the staff member, Team of the staff, job title or designation, time zone that staff is following, Staff’s email address, mobile number, address and access token.
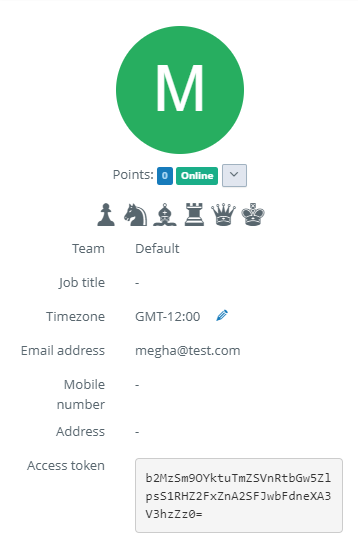
Staff can edit their profile and change their password from the drop down arrow:
The password of the staff member can updated from here. One needs to enter the old password and then the new password.

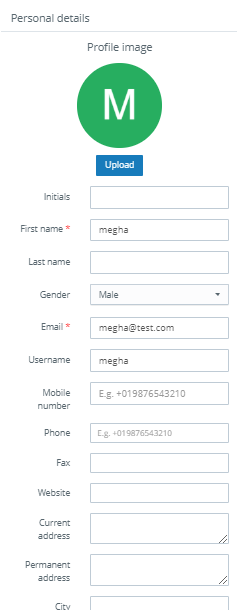
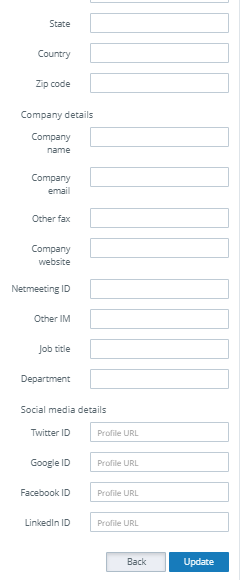
The personal details of the staff member can be edited from here. The profile of the staff member can be divided into three parts: Personal details, Company details and Social media details. All these details are self explanatory and they differ from person to person. All the details of the staff member can be updated and edited from here.
Towards the right it consists of the details of the staff activity, signature, time tracked, devices, integration
a. Staff Activity:
All the activities that are carried on the ticket will be listed here. It will consist of the ticket hash along with the details of the ticket.

b. Signature:
The staff can set the signature department wise. The signature will be auto appended to the ticket post whenever a staff will reply or create a new ticket. Signatures can be set by the staff members department wise. The same signature can be set for all the departments by keeping All departments as checked.

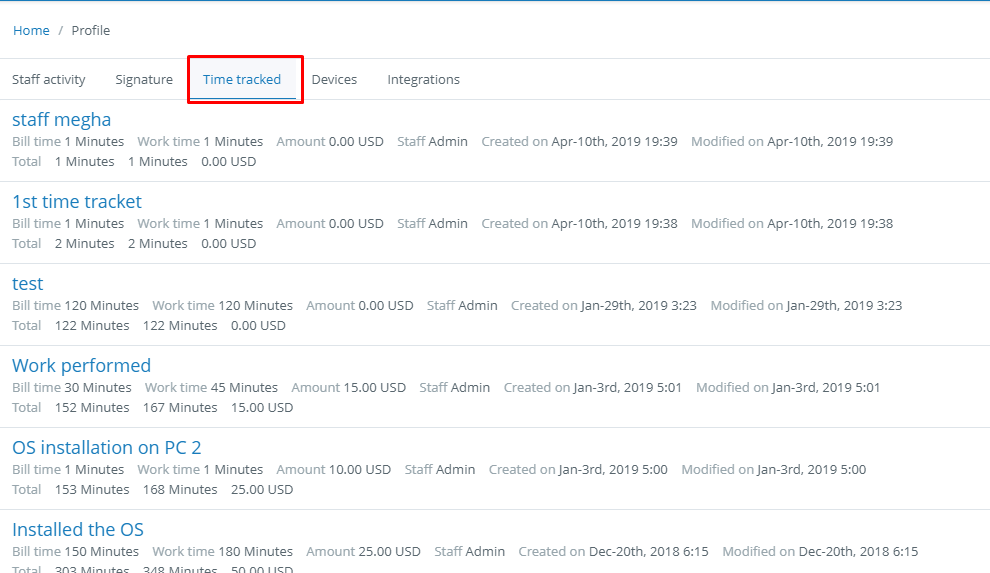
c. Time tracked:
All the details of the time tracked for the tickets by the particular staff member will be listed here.
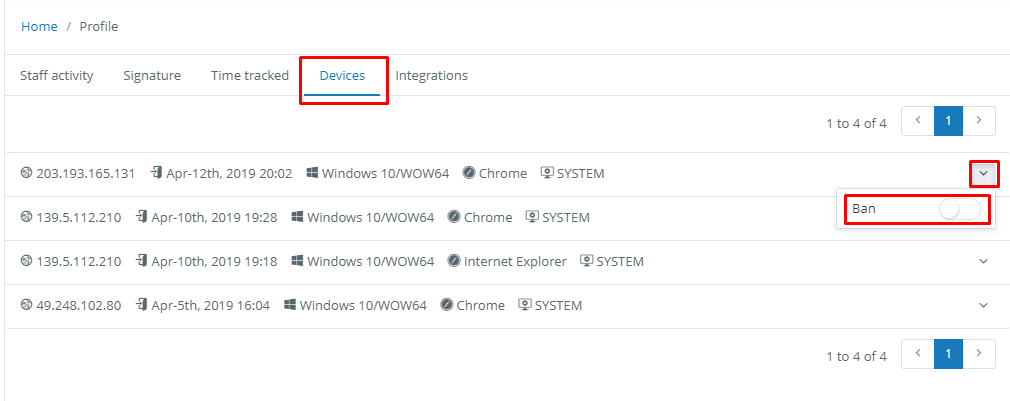
d. Devices:
Staff can trace out the device details from which he logged in to the portal. You can also restrict the portal to be accessed from the particular device from the drop down arrow.
e. Integrations:
The integration that is been carried out will be listed here. The particular domain is to be selected along with the Integration App from the drop down. Based on the integration that is carried out it will get listed for the profile of the logged in staff.

2. Alerts:
It is possible that different rules or alerts can be set for staff members. It can also be used to send the notifications to the staff members when any of the events is occurred. It can be used in sending notifications to staff member when any ticket is received. It is possible to send the notifications either through email or SMS.
Staff Menu >>Alerts

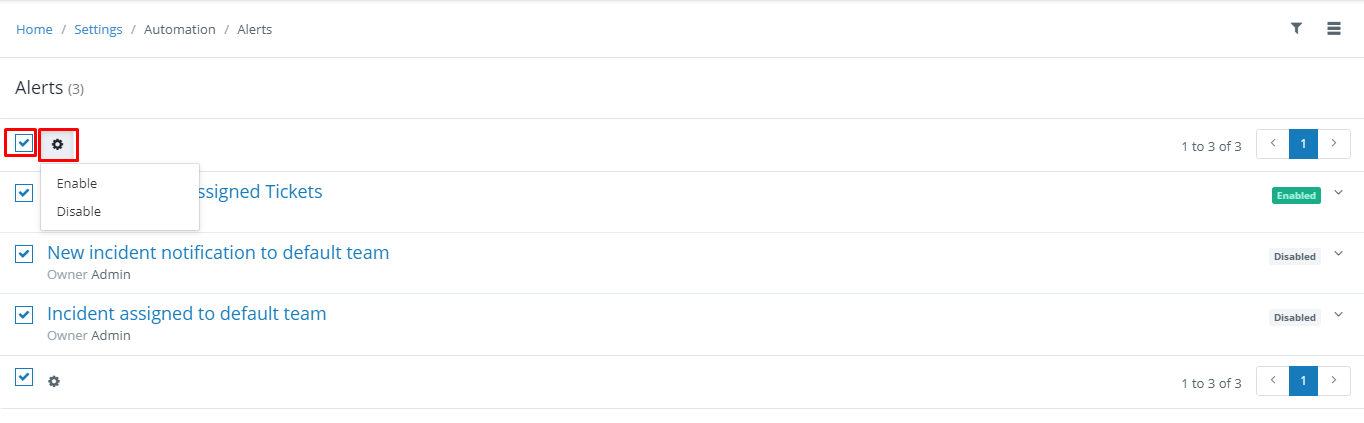
Mass Action on Alerts:
It is possible is select either of the Alert or more than one Alerts with the help of checklist and perform the desired action on them. The status of the Alerts can be enabled or disabled.
Add Alert:
Additional alerts can be added using the Add option. When you click on the Add you will have the following fields:
Admin Settings >> Email Settings >> Email templates
Update Alerts:
It is possible to edit or update a particular alert by selecting it from the listing. The changes can be made and it can be updated by the Update option present at the bottom.
Delete Alert : You can delete alert from the drop down arrow at the right corner.

3. Views:
Views are useful for the staff member as it helps them to decide what they want to see in quick glance in the ticket listing.
Staff Menu >> Views

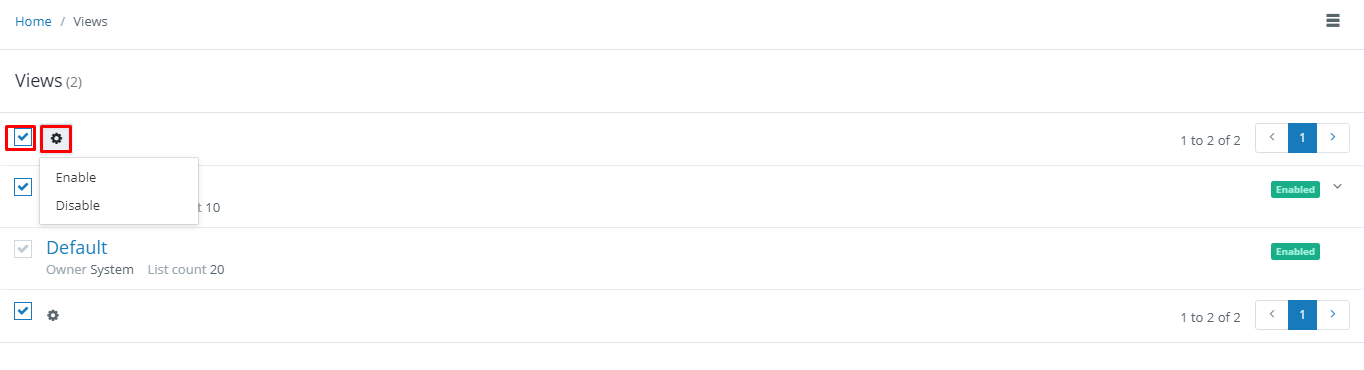
Mass Action on Views:
It is possible to select either of the view or more than one view with the help of checklist and perform the desired action on them. The status of the views can be either enabled or disabled.
Add view:
Additional Views can be added using the Add option. When you click on Add you will have the following fields:
Update View:
It is possible to edit or update a particular View by selecting it from the listing. The changes can be made and it can be updated by the Update option present at the bottom.
Delete View: You can delete alert from the drop down arrow at the right corner.

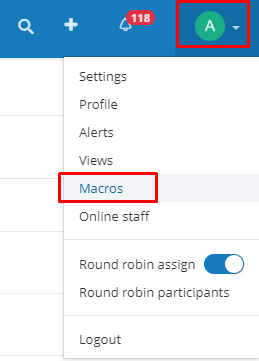
4. Macros:
Macros can be applied to the tickets and thus saves the time of the staff members. Staff member can create macros for themselves by:
Staff Menu >> Macros
Mass Action on Macros:
It is possible to select either of the macro or more than one macros with the help of checklist and perform the desired action on them. The status of the macros can be either enabled or disabled.

Add Macros:
Additional macros can be added using the Add option. When you click on Add you will have the following fields.
Update Macros:
It is possible to edit or update a particular macro by selecting it from the listing. The changes can be made and it can be updated by the Update option present at the bottom.
5. Online Staff:
The staff who are logged in to the portal can be traced out from online staff option.
Staff Menu >> Online staff

When you click over the online staff you will get redirected to the profile of that staff.

6. Logout:
The staff can log out from the manage portal by the Log out option.
Staff Menu >> Logout
