

What are clients in VHD?
When an end user submits a query from any channel, a ticket is raised in the staff portal. This ticket is then assigned to a staff member who works on the query in order to resolve it. It can be a registered user or a one-time user submitting the incident. You can also enable the settings where first time users are automatically registered in the system. These end-user clients are updated about the ticket status on the email address provided by them during ticket submission.
Clients are the end user customers that submit queries. Using VHD, these clients can contact you through various channels. They can email you on your support email address, they can call you, send a text message on chat, post a query on any of the integrated social media applications and all these queries will be redirected to your VHD centralised inbox portal.
You can access the clients created in your system through the staff portal. When you log in to the staff portal, through the launcher icon you can access the client module.
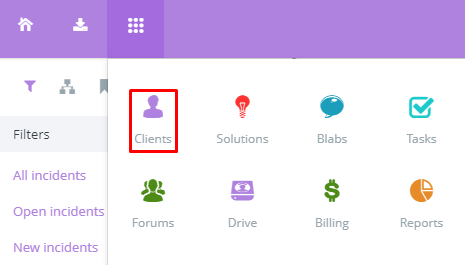
When you open the client module you will find two tabs, organisation and clients. Under clients you will find a list of clients registered in your system along with their details. The client’s email address, mobile number, domain and organisation in VHD and added subclients are visible here. On the far right side of the client details, you can see the status of the client, for eg. approved, banned, pending and spam. From the drop down option provided here you can also delete a client from the system. Although if you delete a client from the system, all the tickets submitted by such client will also be deleted.
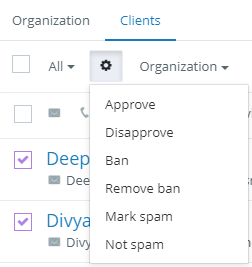
Using mass operations, you can select multiple clients registered in the system and perform various operations on them. When you select a client a gear icon

appears on the top of the list. Through this option you can select various actions that can be performed.
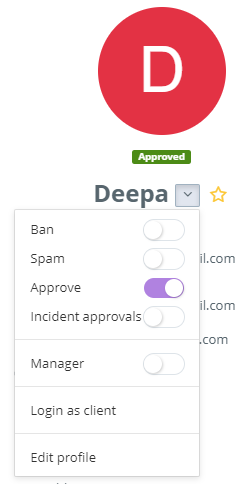
When you click on the name of a client, you will be redirected to a page which displays the entire details of that client. On the left hand side of this page you will find client details such as name, email address, username, domain, organisation, etc. You can also mark a particular client as your favourite by clicking on the star icon

beside your client’s name.
From the drop down menu you can also select to ban a client which will disable him from submitting queries in the future. When you mark a client as spam, the tickets raised by such clients will be directly displayed under the spam folder in the inbox. You can also mark a client as approved or disapproved which will ultimately affect his ticket submission ability. Incident approval is a permission setting which is automatically turned on when you send an approval to a client on his email address. If you turn it off after sending an approval to the client, he will not be able to approve or reject it. As these clients are grouped based on their domain name, these groups can be found under organisations. You can also consider designating a particular client from an organisation as the manager. The manager will be able to access all the tickets submitted by him and his colleagues as well. Edit profile enables you to edit a client profile like adding additional details.
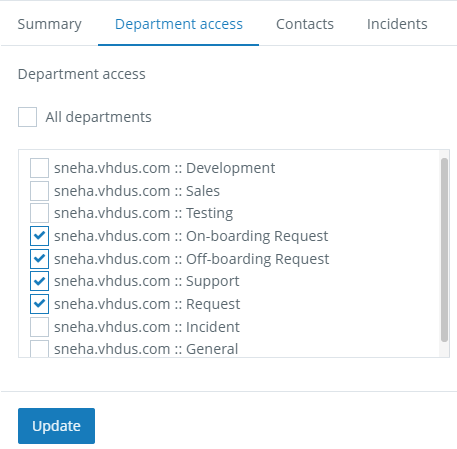
On this client details page, on the right hand side you will find three tabs namely summary, department access and incidents. Under summary you will find incident count of the tickets that are new and overdue, billing count that indicates new invoices generated for this particular client and overdue unpaid invoices, credit that displays the prepaid credit balance of the client time-wise and incident-wise.

Under the department access tab you will find all the departments this client has access to. This client can only send queries to the departments he has been given access for. You can also change this access and update anytime you wish.
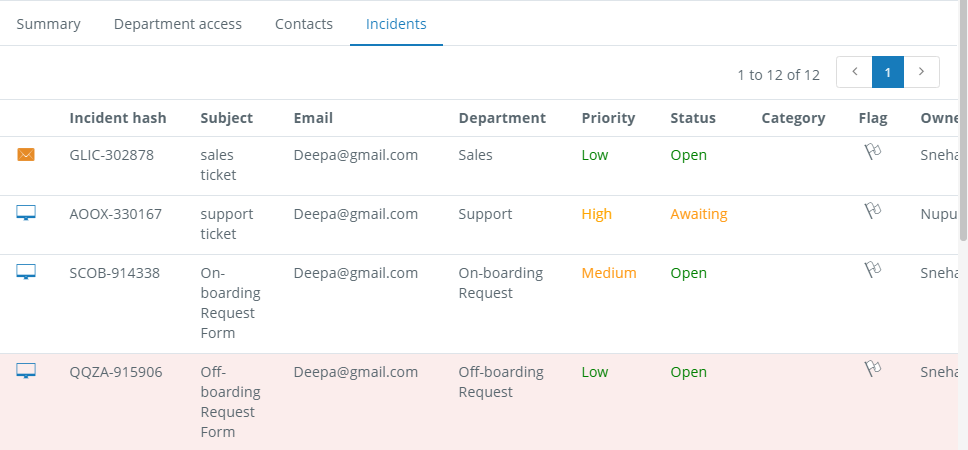
Under incidents tab you will find all the incidents submitted by this particular client. This serves as a back-up of all the incidents submitted by this client. These incidents are also displayed inside a ticket under the history tab.
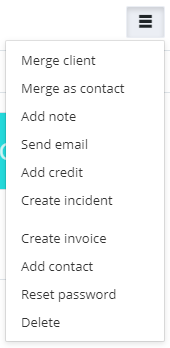
On this page itself on the top right corner of the screen, you will find a more list icon

which will enable you to perform some more operations on the clients and their tickets.
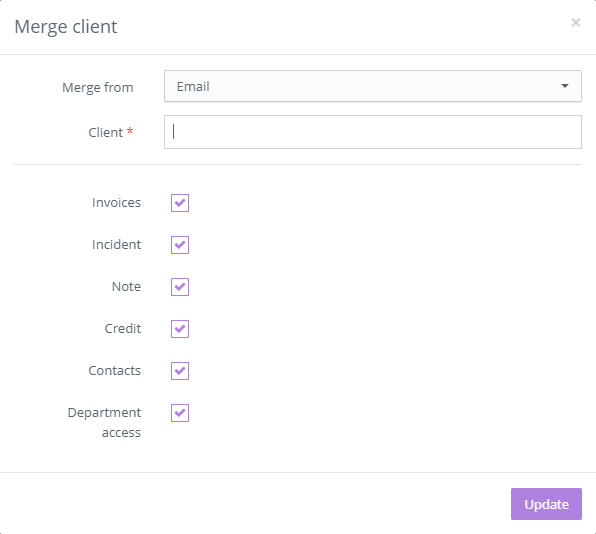
If a client sends you a query, an incident is generated with a unique incident hash. If auto registration is enabled, the client will be automatically registered in the system once he submits an incident. If the same end-user submits to you incidents through various channels, different clients will be generated in the system. To manage this problem ‘merge client’ option has been provided. Using this option you can merge multiple clients that are differentiated based on the channel of incident submission. While merging such clients you can provide their email address (email client), mobile number (call client), facebook/twitter/linkedin id (social media client) and merge them into one client. You can also decide to merge their invoices, incidents submitted, notes added, credit balance available, contacts added and their departmental access given.
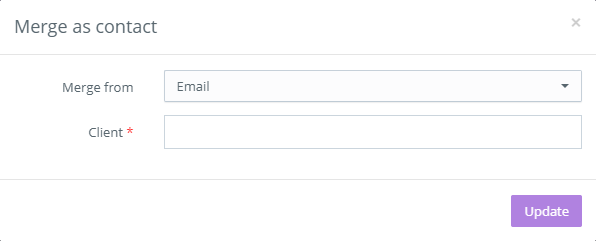
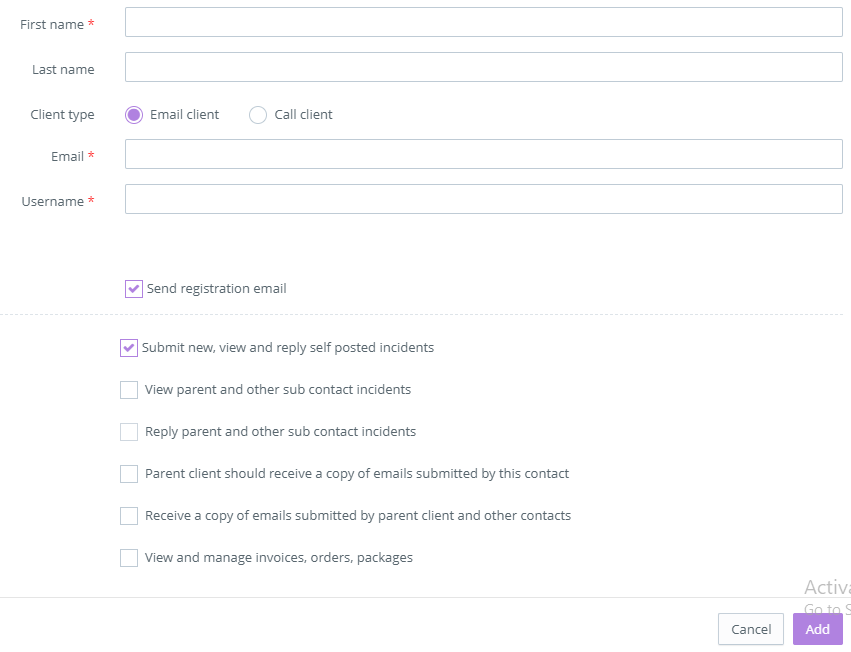
When a client is created in the system, details such as name and email address are required for registration. A client can also add a sub-contact under his registration. These additional contacts are also displayed as subclient in client details under client tab of client module. Using ‘merge as contact’ and specifying the channel of incident submission, you can update an additional contact in the system.
Using the ‘add note’ option from this menu you can add a client note. This note can also be added from the ticket in the inbox. It is a client note which is associated with the client and also with all the tickets that will be submitted by him. You will find this client note on the client details page as well as in a separate tab called ‘notes’ inside the ticket submitted by the client.
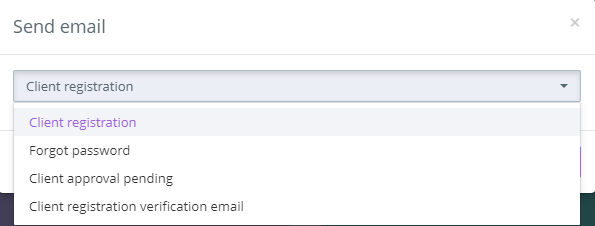
Using the ‘send email’ option you can send any of the previously saved templates to your client on his registered email address. This template can be for client registration, a password reset assistance link, a previously sent approval reminder or registration verification. This template provides the end-user client the essential details such as the url of your client portal, his email address for logging in, password reset link, etc.
‘Add credit’ is an option through which credits can be added into a clients prepaid billing account. These credits can be used by the client either time-wise or incident-wise based on his requirements and pre-paid package defined.
An incident can be created through staff portal as well. ‘Create incident’ option is used when you wish to create a new incident from the staff portal. A new incident will be created in the system and the client will be updated likewise.
A new contact can be added using the option ‘add contact’ from the drop down list. This is an additional contact added under a registered client. Here, you can also define the access rights of this additionally added contact.
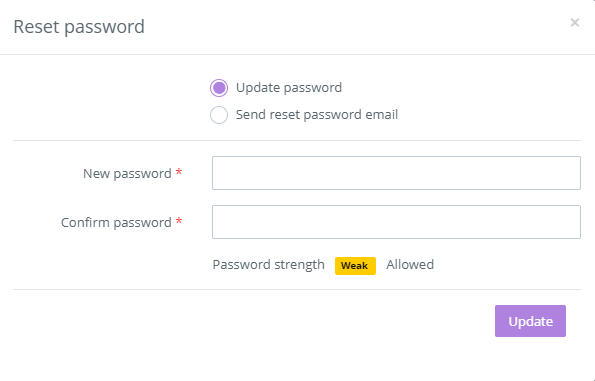
Using the ‘reset password’ option you can reset a client’s password. If you select the update password radio button, you can reset the client’s password directly from the staff portal. The password strength can also be determined by you through the admin settings. So if a password strength does not fit the criteria, it will not be accepted. You can also opt for sending a reset password email to the client instead. An email will be sent to the registered client’s email address which will direct the client to reset his password.
You can also delete a client through the option provided in the drop down menu. Once you delete a client, all the data related to the client like the incidents submitted, notes added, etc will be deleted permanently from the system.