Solutions

Administrator Guide

Vision Helpdesk CI type Settings

Renu Sharma Apr-11th, 2019 16:21 0 0

Configuration item type : A configuration item (CI) can be a hardware, software, service or another item that needs to be managed within a company to ensure better delivery of services.

You can add different CI type as per your requirements. You can either add a CI type at the root level or as a subtype. The CI type can be viewed and added in hierarchical order or tree structure.

Steps to added CI -

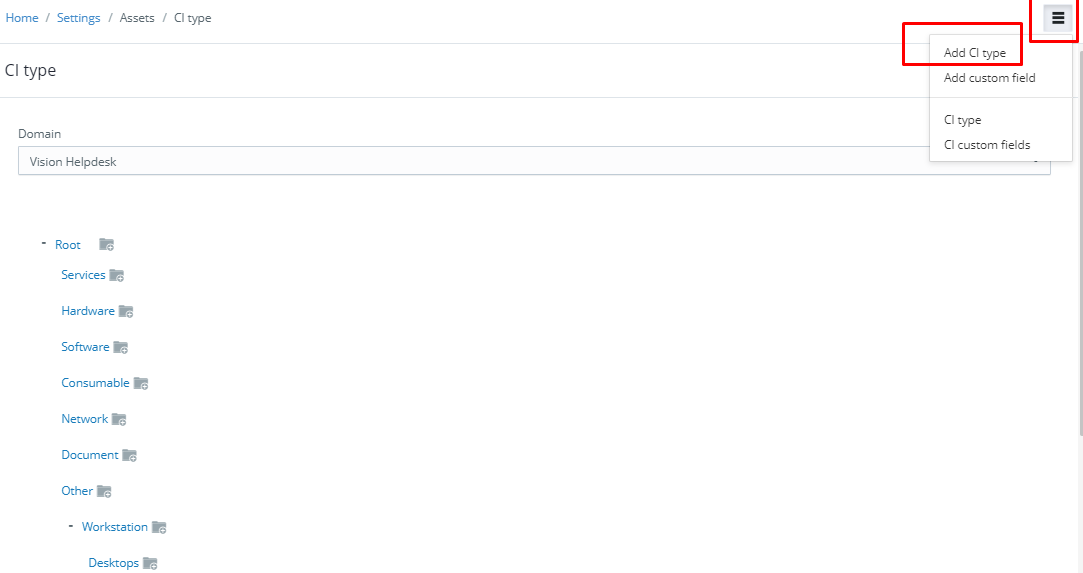
Click on add CI type

Here you need to fill below fields -

  • Title: Here you can add the title for CI type.
  • Display order: If you have added multiple CI types and you want them to be displayed in specific sequence then it can be done using Display order.
  • Parent category: You can select the parent category under which you want to add the CI type.
  • Depreciation type: You can select the depreciation type from the drop-down.
  • Warranty year(): You can add the warranty year.
  • Vendor: You can select the vendor name.
  • Domain access: Here you can specify which domain you want to add a particular CI type.
  • Status: Here you can enable or disable CI type.
Note: If you add a CI type at root level then by default Parent category is displayed and in case you are adding a sub CI type then you would be able to select parent CI type under which you want to add the sub CI type.


Steps to add custom CI fields

Adding CI field :

Sometimes there would be a requirement where you have to add additional fields for particular CI type. For example, you want to capture additional information for asset says the color of the asset, so you can add the additional field from here.

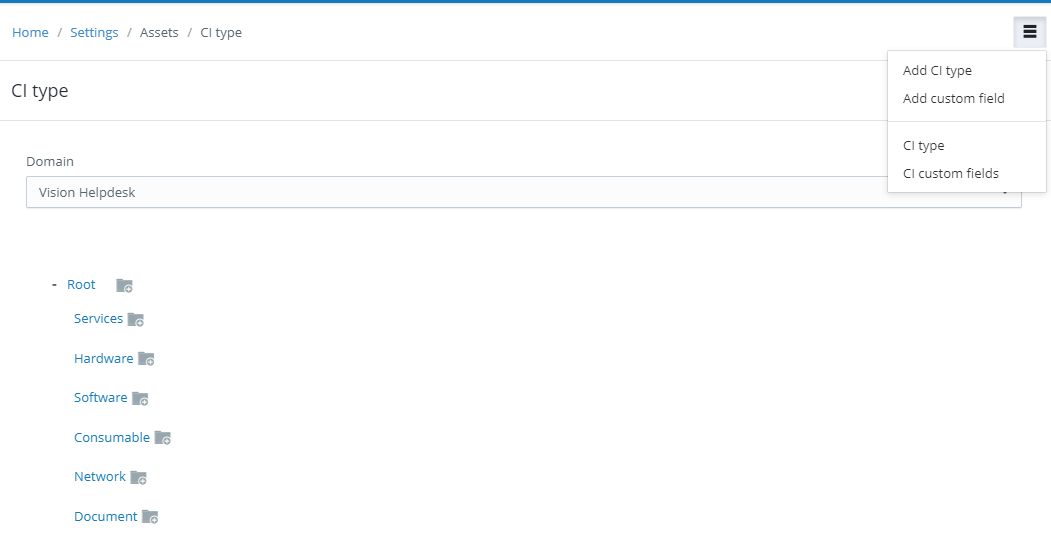
Click on add custom field.

Now here you can select the additional fields which you want to add under the CI.

Note : The Custom field added would be visible under properties option when you try to add an asset from CMDB.

Vote

Was this article helpful?
0 out of 0 found this helpful